Garlic cultivation demands a sunny location, receiving 6-8 hours daily, alongside fertile, well-drained soil, ideally a sandy clay loam. Enriching the ground with compost or aged manure is crucial for robust growth.
Understanding Garlic Varieties
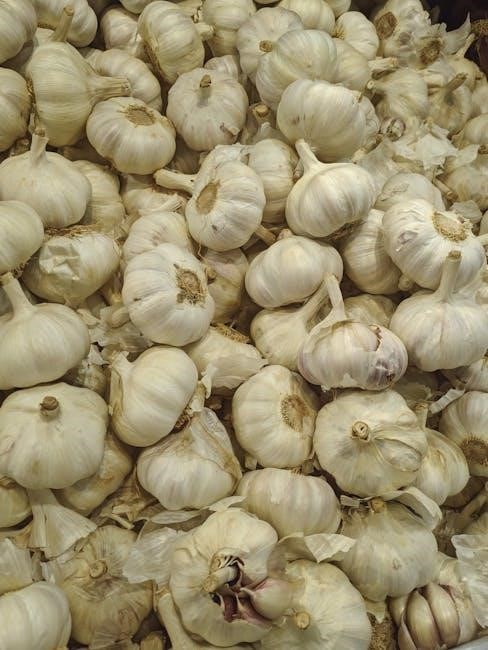
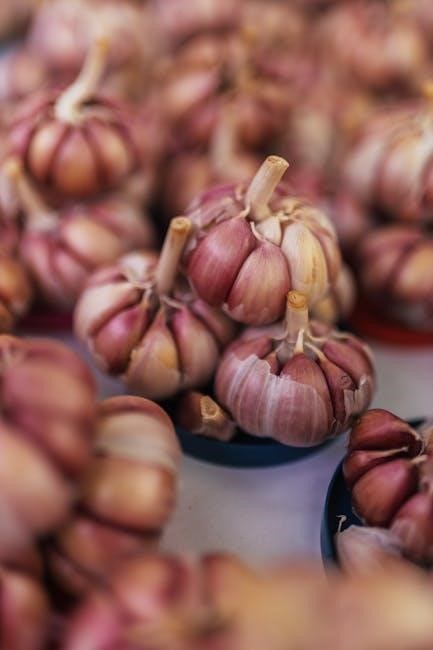
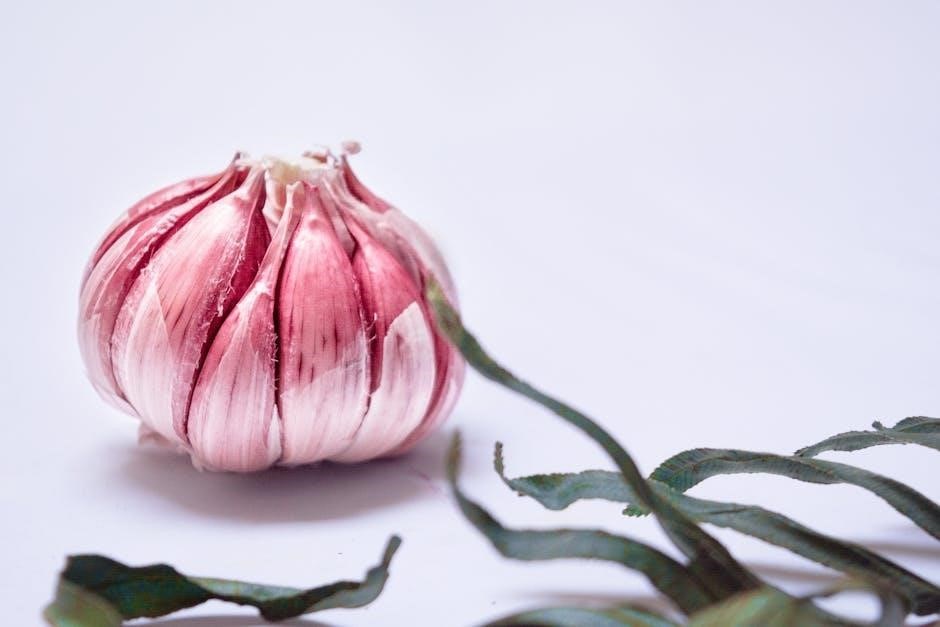
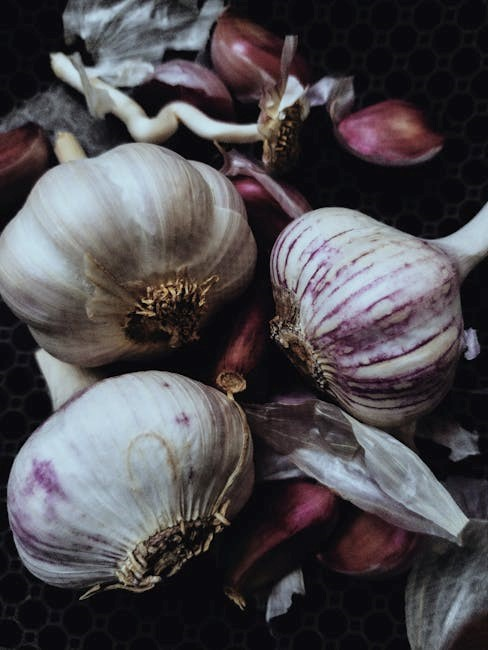
Garlic presents itself in a fascinating diversity of varieties, broadly categorized into hardneck and softneck types, each possessing unique characteristics influencing their cultivation and storage potential. Hardneck garlic, generally favored in colder climates, is distinguished by its stiff, central stalk – a scape – which should be removed to encourage bulb development. These varieties typically produce fewer, larger cloves with a more complex, robust flavor profile.
Conversely, softneck garlic, more adaptable to milder winters, lacks the central stalk and boasts a pliable stem, making it ideal for braiding. Softneck types generally yield numerous, smaller cloves with a milder, more consistent flavor. Understanding these fundamental differences is paramount when selecting the appropriate garlic for your specific gardening conditions and culinary preferences. Choosing the right variety ensures a successful and rewarding harvest, tailored to your climate and taste.
Hardneck vs. Softneck Garlic
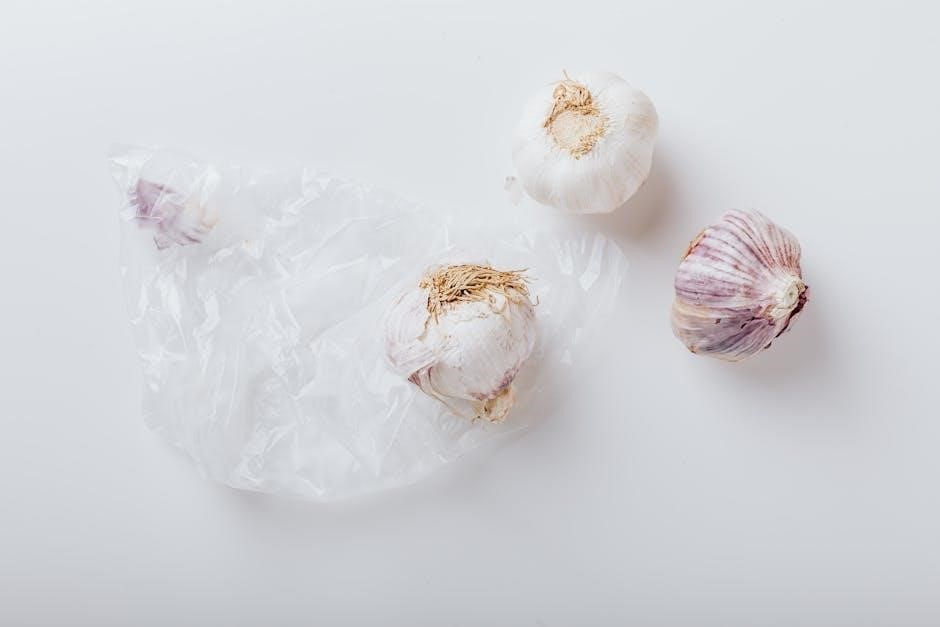
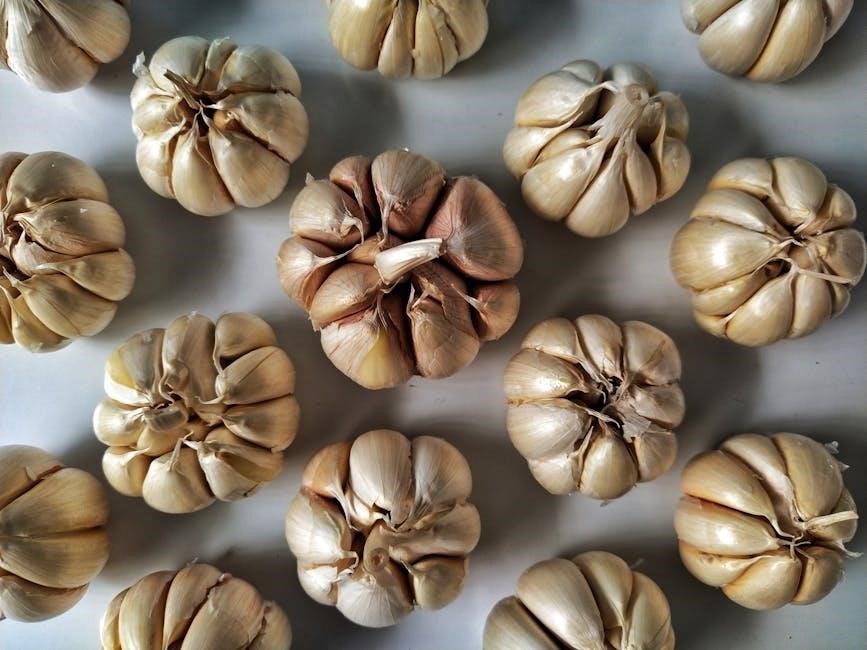
The distinction between hardneck and softneck garlic extends beyond the presence of a central stalk; it fundamentally impacts their growth habits and suitability for different regions. Hardneck varieties, characterized by their rigid central scape, thrive in colder climates with distinct winters, requiring a period of vernalization – cold exposure – for optimal bulb formation. They produce larger cloves, often with a more intense flavor, and the scapes themselves are a culinary delicacy.
Softneck garlic, lacking this central stalk, is better suited to warmer climates and milder winters. Its pliable stem allows for easy braiding, a traditional storage method. While typically yielding smaller cloves with a milder flavor, softneck garlic boasts superior storage capabilities compared to its hardneck counterpart. The choice between the two hinges on your local climate and desired characteristics – flavor intensity, scape production, and storage longevity – guiding you towards the optimal garlic type for your garden.
Choosing the Right Garlic for Your Climate
Selecting the appropriate garlic variety is paramount for a successful harvest, directly correlating with your region’s winter severity. Gardeners in colder climates, experiencing prolonged freezing temperatures, should prioritize hardneck varieties. These types necessitate the cold period for proper bulb development, flourishing where winters are harsh and consistent. Conversely, warmer regions with mild winters are ideally suited for softneck garlic.
Softneck types don’t require vernalization and can struggle in extremely cold conditions. Consider microclimates within your garden; a sheltered spot might allow you to experiment with hardneck varieties even in moderately warm areas. Local nurseries and agricultural extensions are invaluable resources, offering recommendations tailored to your specific locale. Ultimately, matching the garlic type to your climate ensures robust growth, healthy bulbs, and a bountiful yield, maximizing your gardening efforts.
When to Plant Garlic
Fall planting, roughly three weeks before the ground freezes, is ideal, allowing root establishment before winter. Planting after the autumnal equinox, in late September, is a good rule of thumb.
Optimal Fall Planting Time
Determining the precise moment for planting garlic in the fall is crucial for maximizing bulb development. The general consensus among gardening experts points to a timeframe approximately 3 weeks before the ground freezes. This allows sufficient time for the garlic cloves to establish a robust root system without expending energy on top growth that could be damaged by harsh winter conditions.
A widely recommended guideline is to plant after the autumnal equinox, which typically falls around late September. However, this is a general rule, and the actual timing should be adjusted based on your specific geographic location and the prevailing weather patterns. Monitoring local forecasts and observing the soil temperature are essential.
The goal is to encourage root development while preventing premature sprouting. If the shoots emerge before the ground freezes, they are vulnerable to winterkill. Therefore, delaying planting until later in the fall, but still allowing for root establishment, is often preferable. Consider your region’s first expected frost date when making your planting decision.
Planting After the Autumnal Equinox
Following the autumnal equinox, typically occurring in late September, presents a favorable window for garlic planting. This timing allows for crucial root development before the ground freezes, establishing a strong foundation for next season’s growth. However, it’s not a rigid deadline; flexibility based on local weather is key.
Planting immediately after the equinox isn’t always ideal. Observe your local conditions. If a prolonged warm spell follows, delaying planting slightly can prevent premature sprouting. Conversely, if colder temperatures arrive quickly, don’t delay – prioritize root establishment.
The primary benefit of this timeframe is balancing root growth with dormancy. The cloves need time to anchor themselves, but shouldn’t expend energy on above-ground growth susceptible to winter damage. Aim for planting when soil temperatures are consistently cool, but before a hard freeze sets in. Careful observation and adaptation are vital for success.
Timing Based on Ground Freezing
A critical guideline for garlic planting revolves around the impending ground freeze. Ideally, planting should occur approximately three weeks before the first hard freeze, providing ample time for root development without encouraging significant shoot growth. This allows the cloves to establish a robust root system, crucial for surviving winter and thriving in spring.
However, “three weeks” is a general rule. Monitor your local weather forecasts closely. Soil temperature is more important than calendar dates. The goal is root growth before the ground becomes impenetrable with frost, not necessarily before the first light frost;
If you’re late planting and the ground is already starting to freeze, don’t despair! Plant as soon as possible, even if it means working the soil when it’s slightly frozen. While not optimal, some root development is better than none. Mulching heavily after planting will provide additional insulation and protection.
Preparing the Soil for Garlic
Garlic requires well-drained soil, with sandy clay loam being optimal. Amend with compost or aged manure, and consider bonemeal or potassium fertilizer for larger bulbs.
Importance of Well-Drained Soil
Garlic absolutely demands well-drained soil to thrive; this is arguably the most critical factor in successful cultivation. If garlic sits in overly wet conditions, it becomes highly susceptible to rot and fungal diseases, potentially decimating your entire crop. The bulbs themselves can soften and decay before they even have a chance to mature, leading to significant disappointment and wasted effort.
Poor drainage creates an anaerobic environment around the roots, suffocating them and hindering their ability to absorb essential nutrients. This stress weakens the plant, making it more vulnerable to pests and diseases. Conversely, well-drained soil allows for proper aeration, ensuring the roots receive the oxygen they need to flourish.
Consider raised beds if your native soil is heavy clay, as these provide excellent drainage. Amending heavy soils with organic matter like compost also improves drainage considerably. Ensuring proper drainage isn’t just about preventing rot; it’s about fostering a healthy root system that supports vigorous growth and ultimately, bountiful harvests of flavorful garlic bulbs.
Ideal Soil Type: Sandy Clay Loam
When selecting a planting site for garlic, the ideal soil type is a sandy clay loam. This composition offers the perfect balance of drainage, water retention, and nutrient availability crucial for healthy bulb development. The sand component ensures excellent drainage, preventing waterlogging and root rot – a common issue for garlic. Simultaneously, the clay content helps retain moisture and essential nutrients, providing a sustained supply for the growing plants.
Sandy clay loam also allows for good aeration, enabling the roots to breathe and absorb oxygen efficiently. This soil type is relatively easy to work with, making planting and harvesting less strenuous. If your garden soil leans heavily towards clay, incorporating generous amounts of sand and organic matter can improve its structure and move it closer to the ideal loam consistency.
For heavier soils, constructing raised beds – two to three feet wide and at least 10-12 inches tall – provides a readily drained environment mimicking the benefits of sandy clay loam, ensuring a successful garlic harvest.
Soil Amendments: Compost and Manure
Preparing the soil with organic amendments is paramount for successful garlic growth. Both compost and aged manure are excellent choices, significantly enhancing soil fertility and structure. Compost, derived from decomposed organic matter, improves drainage, aeration, and water retention, while simultaneously releasing essential nutrients slowly over time. This sustained nutrient supply fuels robust bulb development.
Aged manure, similarly, provides a wealth of nutrients, including nitrogen, phosphorus, and potassium, vital for garlic’s growth cycle. Ensure the manure is well-aged to avoid burning the roots. Incorporating these amendments into the soil before planting creates a rich, loamy environment that supports healthy root establishment and vigorous plant growth.
These organic materials also foster beneficial microbial activity in the soil, further improving nutrient availability and overall soil health, ultimately leading to larger, more flavorful garlic bulbs.
Using Bonemeal and Potassium Fertilizer
To maximize bulb size and quality, consider supplementing compost and manure with bonemeal and a potassium fertilizer. Bonemeal, a slow-release phosphorus source, is particularly beneficial for root development, crucial during garlic’s fall planting. Strong roots are essential for nutrient uptake and winter survival, setting the stage for vigorous spring growth.
Potassium plays a vital role in bulb formation and overall plant health. A fertilizer higher in potassium promotes larger, more densely packed cloves, enhancing both yield and storage potential. Applying these amendments at planting time ensures the garlic has access to these key nutrients throughout its growth cycle.
However, avoid over-fertilizing, as excessive nitrogen can lead to lush foliage at the expense of bulb development. A balanced approach, combining organic matter with targeted nutrient supplementation, yields the best results for a bountiful garlic harvest.
The Planting Process
Garlic cloves should be spaced appropriately, and planted at the correct depth, ensuring the pointy end faces upwards. Proper planting is vital for successful bulb development and a plentiful harvest.
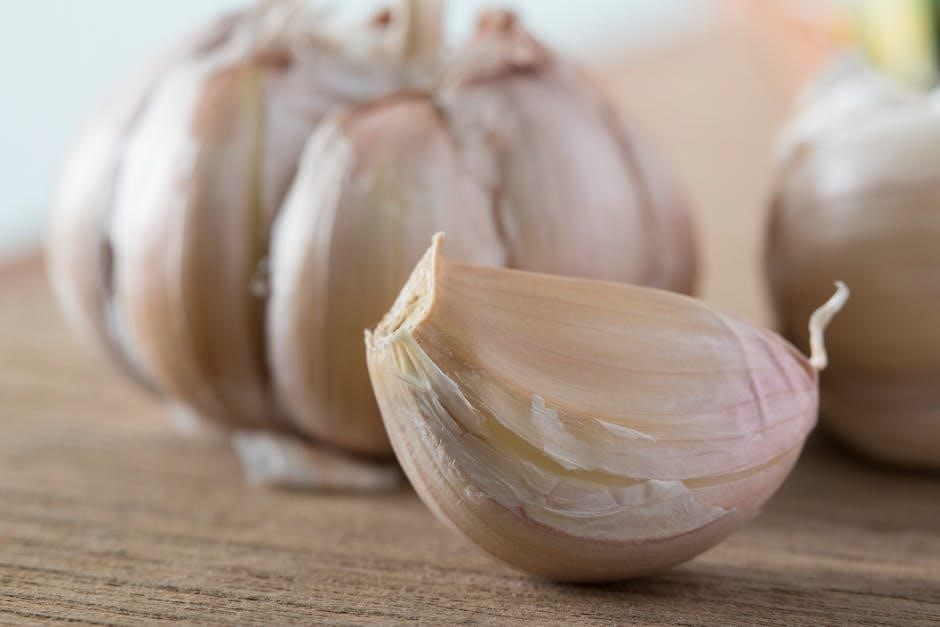
Spacing Garlic Cloves
Spacing garlic cloves correctly is paramount for achieving optimal bulb size and overall plant health. Generally, allow 4 to 6 inches between each clove within a row. This provides sufficient room for the bulbs to expand without overcrowding, which can lead to smaller yields and increased susceptibility to diseases.
Rows themselves should be spaced 6 to 12 inches apart. Wider spacing, around 12 inches, is particularly beneficial in areas with heavier rainfall or poor drainage, as it improves air circulation and reduces the risk of fungal infections. For smaller varieties of garlic, a closer spacing of 4 inches between cloves might suffice, but always prioritize adequate airflow.
Consider the size of the garlic variety when determining spacing. Larger varieties, like some hardneck types, will require more space than smaller softneck varieties. Consistent spacing throughout the planting area ensures uniform growth and simplifies harvesting. Careful attention to clove spacing translates directly into larger, healthier garlic bulbs at harvest time.
Planting Depth
Determining the correct planting depth for garlic cloves is crucial for successful germination and bulb development. A general guideline is to plant cloves approximately 2 to 3 inches deep, measured from the top of the clove to the soil surface. However, several factors can influence this depth.
In heavier clay soils, a shallower depth of around 2 inches is recommended to facilitate easier emergence, as these soils can become compacted and hinder sprout growth. Conversely, in lighter, sandier soils, a slightly deeper planting depth of up to 3 inches can help retain moisture and protect the cloves from drying out.
Consistent depth across the planting area is important for uniform growth. Avoid planting too shallowly, as this can expose the cloves to temperature fluctuations and potential damage. Planting too deeply can delay emergence and weaken the sprouts. Proper depth ensures the cloves are adequately covered for protection and have sufficient energy reserves for initial root and shoot development.
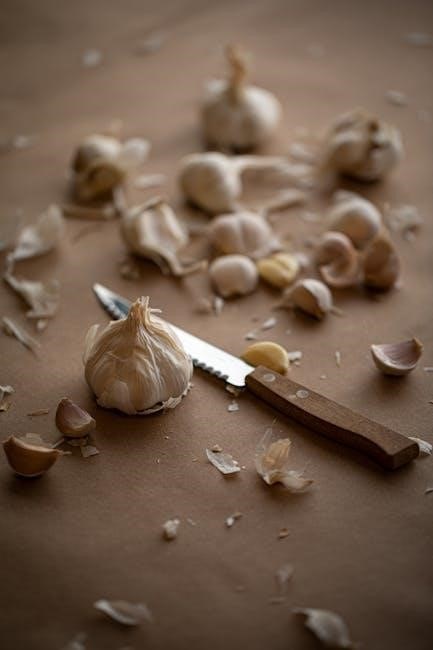
Pointy End Up vs. Root End Down
A common question among garlic growers is whether to plant cloves pointy end up or root end down. While it might seem crucial, the orientation isn’t as critical as ensuring proper planting depth. Garlic cloves are naturally resilient and can often adjust their growth regardless of how they’re planted.
However, generally, it’s recommended to plant cloves with the root end down. The root end is typically the slightly flattened side of the clove, where roots will emerge. The pointy end is where the shoot will grow. Planting this way encourages quicker and more directed growth.
If it’s difficult to distinguish between the root and shoot ends, don’t worry excessively. Garlic is remarkably adaptable. Planting the clove at the correct depth and providing optimal growing conditions are far more important than precise orientation. Regardless of which end faces up, the clove will eventually orient itself for successful growth and bulb formation;
Garlic Care After Planting
Garlic requires ample sunlight and avoiding wet soil is vital. Ensure the planting location receives at least six hours of sun daily for optimal bulb development and health.
Ensuring Adequate Sunlight
Garlic, to flourish and produce substantial bulbs, absolutely requires a location bathed in sunlight. Aim for a planting site that receives a minimum of 6 to 8 hours of direct sunlight each day throughout the growing season. This ample sunlight is fundamental for photosynthesis, the process by which the plant converts light energy into the sugars it needs for growth and bulb development.
Insufficient sunlight can lead to several problems. Plants may exhibit leggy growth, meaning they stretch towards the light, resulting in weaker stems and smaller bulbs. The bulbs themselves may be smaller, flatter, and have fewer cloves. Furthermore, reduced sunlight can make the plants more susceptible to diseases and pests.
If your garden doesn’t have a naturally sunny spot, consider amending the area to maximize light exposure. This might involve pruning nearby trees or shrubs, or even relocating the garlic to a different part of the garden. Monitoring the sunlight throughout the day is crucial to ensure your garlic is getting enough.
Avoiding Wet Soil Conditions
Garlic is exceptionally sensitive to consistently wet soil, making proper drainage paramount for successful cultivation. Allowing garlic to sit in waterlogged conditions can quickly lead to bulb rot, a devastating fungal disease that destroys the entire crop. The roots require oxygen, and prolonged submersion suffocates them, hindering growth and making the plants vulnerable.
Ideal soil for garlic is well-drained, allowing excess water to flow away freely. If your native soil is heavy clay, consider amending it generously with organic matter like compost or well-rotted manure to improve drainage. Alternatively, planting in raised beds, typically 2 to 3 feet wide and at least 10-12 inches high, provides excellent drainage and aeration.
Observe your planting site after rainfall. If water pools and remains for an extended period, drainage improvements are essential. Proper drainage isn’t just about preventing rot; it also encourages healthy root development, leading to larger, more flavorful bulbs.
